How to Create a Page With a Custom URL in WordPress

As a WordPress developer, some things are not straightforward. You may often encounter situations where you need to create a page with a custom URL in WordPress for your theme.
An example would be for a user profile page where the URL includes the user_nicename value instead of a user_id?
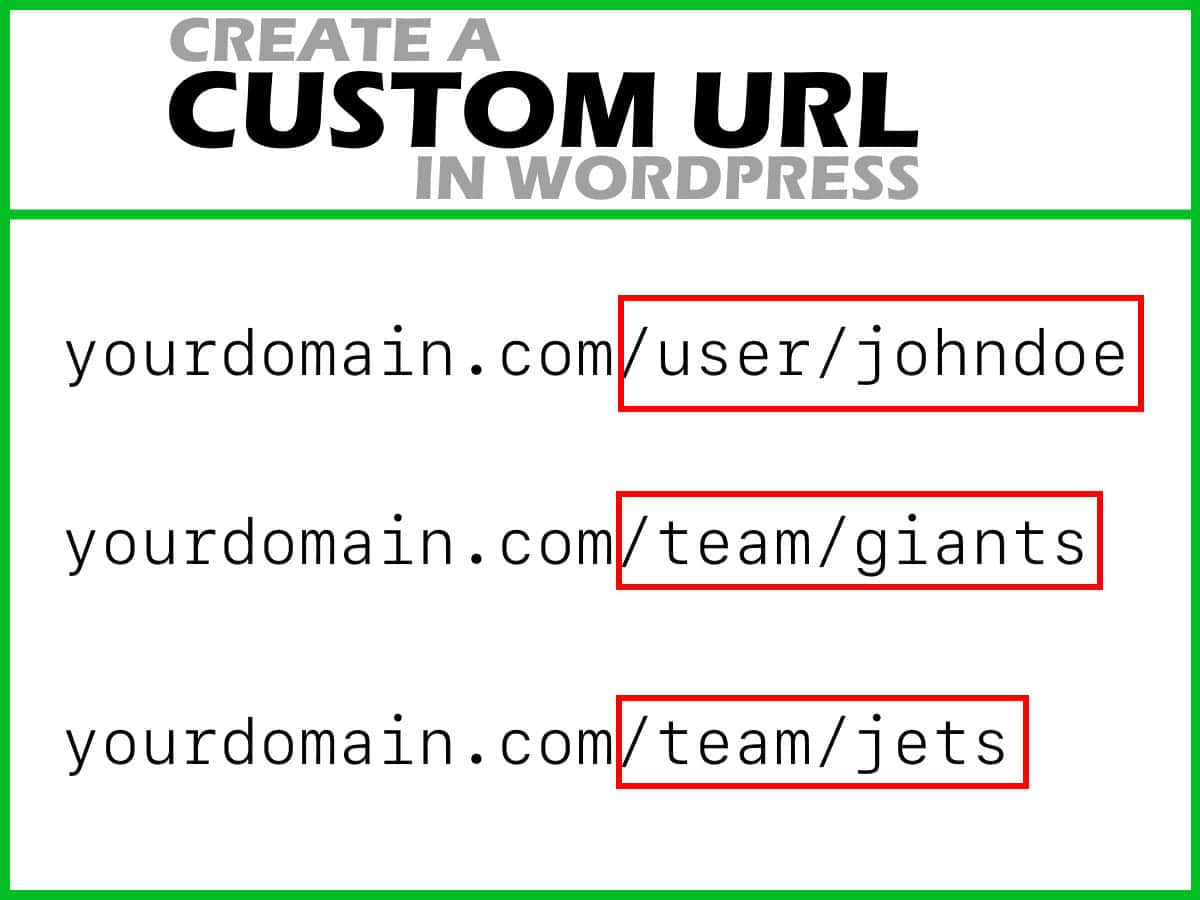
Let’s walk through the process of creating a custom page URL like https://xyz.com/user/johndoe, where “johndoe” is the user’s user_nicename value. This can be particularly useful for user profile pages or custom post types.
Step 1: Add a Custom Rewrite Rule
First, we need to add a custom rewrite rule to WordPress. This rule will tell WordPress how to handle our custom URL structure. Add the following code to your theme’s functions.php file:
function add_custom_rewrite_rule() {
    add_rewrite_rule('^user/([^/]*)/?','index.php?pagename=user&user=$matches[1]', 'top');
    add_rewrite_tag('%user%', '([^&]+)');
}
add_action('init', 'add_custom_rewrite_rule', 10, 0);
This rule tells WordPress to match URLs like /user/johndoe and internally rewrite them to index.php?pagename=user-profile&user_slug=johndoe.
Step 2: Add Custom Query Vars
Next, we need to tell WordPress about our custom query variable user_slug. Add this code to your functions.php:
function add_custom_query_vars($query_vars) {
    $query_vars[] = 'user';
    return $query_vars;
}
add_filter('query_vars', 'add_custom_query_vars');
Step 3: Create a Custom Page Template
Now, create a new file in your theme directory called page-user-profile.php. This will be the template for your user profile pages. Here’s a basic example:
<?php
/*
Template Name: User Profile
*/

get_header();

$user_slug = get_query_var('user');
$user = get_user_by('slug', $user_slug);

if ($user) {
    // Display user profile information
    echo '<h1>' . esc_html($user->display_name) . '</h1>';
    echo '<p>Email: ' . esc_html($user->user_email) . '</p>';
    // Add more user information as needed
} else {
    echo '<p>User not found.</p>';
}

get_footer();
Step 4: Create a WordPress Page
In the WordPress admin panel, create a new page and title it “User Profile”. Set the template to the new page you just uploaded, and set the permalink value to “user“. This page won’t be directly accessible, but it’s necessary for our rewrite rule to work.
Step 5: Flush Rewrite Rules
After making these changes, you need to flush the rewrite rules. You can do this by going to Settings > Permalinks in the WordPress admin panel and clicking “Save Changes” without making any changes.

Step 6: Link to User Profiles
Now you can link to user profiles using the custom URL structure. For example:
$user = get_user_by('id', 1);

$profile_url = home_url("/user/{$user->user_nicename}/");

echo '<a href="' . esc_url($profile_url) . '">View Profile</a>';
This should create a link to whichever user has a user ID value of “1”.
Conclusion
Congrats! You’ve successfully created a custom page URL structure for user profiles in WordPress. This technique can be adapted for other custom URL structures as well, such as for custom post types or other specialized pages.
Remember to always sanitize and escape data when working with user input and URLs to ensure the security of your WordPress site.
Good luck!


